You have 0 items in your cart
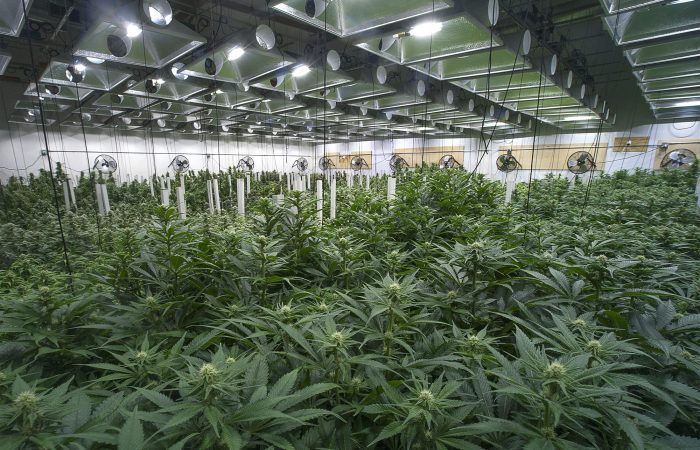
Growing marijuana outdoors is a cost-effective and natural way to cultivate cannabis. With proper planning, sunlight, and patience, you can grow healthy, potent plants even as a first-time grower. This guide covers all the basics you need to start.
📍 1. Choosing the Right Location
Outdoor cannabis thrives in locations with:
- Direct sunlight: At least 6 hours of sunlight daily.
- Privacy: Choose a discreet area (especially if local laws require it).
- Airflow: A breezy spot reduces mold and pests.
- Drainage: Avoid areas that flood after rain.
Pro Tip: South-facing spots tend to get the most consistent sunlight.
🗓️ 2. Timing Your Grow
Cannabis follows the natural light cycle:
- Plant in spring (after the last frost)
- Harvest in fall (usually September–October)
Regional Tips:
- Northern states: Start seeds indoors early.
- Southern states: Longer growing season, consider multiple crops.
🌱 3. Picking the Right Strain
Not all strains grow equally outdoors.
- Indica: Shorter, bushier, and matures faster — good for colder climates.
- Sativa: Taller with longer flowering times — better for warm, sunny areas.
- Autoflowering: Great for beginners. These flower automatically after a set period, not based on light.
Choose strains that are mold-resistant and suitable for your climate.
🧬 4. Germinating and Starting Seeds
Start indoors for stronger seedlings.
- Soak seeds in water for 12–24 hours.
- Place in damp paper towels in a warm, dark area.
- Wait 2–7 days for sprouting.
- Transfer sprouted seeds to small pots until they have 4+ nodes.
🌎 5. Transplanting Outdoors
Once night temps stay above 55°F (13°C):
- Dig holes 1–2 ft wide/deep.
- Mix native soil with compost, perlite, and organic fertilizers.
- Space plants 3–6 ft apart (depending on strain size).
- Water well after transplanting.
💧 6. Watering and Feeding
- Watering: Water when top inch of soil is dry. Deep watering is better than frequent light watering.
- Nutrients:
- Vegetative stage: High nitrogen (N)
- Flowering stage: Higher phosphorus (P) and potassium (K)
Use organic fertilizers or compost teas to minimize risk of nutrient burn.
🛡️ 7. Pest and Disease Control
Outdoor plants face threats like:
- Pests: Aphids, caterpillars, spider mites.
- Diseases: Powdery mildew, bud rot.
Prevention Tips:
- Neem oil or insecticidal soap (organic)
- Companion planting (e.g., marigolds deter pests)
- Avoid overwatering to reduce mold risk
🔄 8. Pruning and Training
Maximize yield and airflow:
- Topping: Cut the top of the plant to encourage bushier growth.
- LST (Low Stress Training): Bend and tie stems to expose more buds to light.
- Remove lower branches: Improves airflow and reduces energy waste.
🔥 9. Flowering and Harvesting
Outdoor plants start flowering as daylight decreases (late summer).
Harvesting signs:
- 70–90% of pistils (white hairs) turn amber/brown.
- Trichomes (with magnifier): Look milky/cloudy with some amber.
Cut branches, trim fan leaves, and hang upside down in a dark, ventilated space to dry.
🧂 10. Drying & Curing
- Drying: 7–14 days in 60°F–70°F with 50–60% humidity.
- Curing: Place dried buds in jars. Open daily for 10–15 minutes (burping) for 2–4 weeks.
Proper curing boosts flavor, potency, and smoothness.
⚖️ Legal Considerations
Check your local/state laws before growing. Many areas require:
- Secure fencing
- Plant limits
- Age restrictions (21+)
- No visibility from public spaces
🧠 Final Tips for Beginners
- Keep a grow journal.
- Be patient—cannabis takes time!
- Don’t over-fertilize.
- Observe your plants daily.
Conclusion
Outdoor cannabis cultivation is a rewarding journey that connects you with nature while producing potent, homegrown flower. With the right environment and care, even beginners can succeed.